Reach Posts Web Part
Overview
This guide shows how to install and Set-Up the LiveTiles Reach Posts Web Part
Installation
Prerequisites
- The latest version of LiveTiles Reach Posts (LiveTiles.Reach.sppkg) app package.
Installation Steps
To install LiveTiles Reach Posts, follow these steps:
Install the app in either your SharePoint tenant app catalog or in a site collection app catalog.
Go to the SharePoint site where the LiveTiles Reach Posts web part should be installed.
Add the app LiveTiles Reach Posts to the site.
Create a new page or go to an existing page where you would like to add the LiveTiles Reach Posts web part.
Click Edit to edit the page.
Click the + and search for the LiveTiles Reach Posts web part.
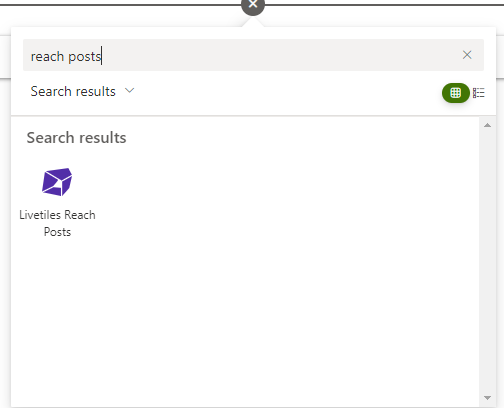
Select LiveTiles Reach Posts and then continue to Set-Up to configure the web part.
Note: You will need a LiveTiles Reach subscription and will have to approve the Api Permissions to use the LiveTiles Reach Posts Web part.
- Go to this page and login with your account and give consent. You will be redirected to the LiveTiles Reach start page.
- Login and give consent again.
- In case you don't already have a subscription create a new one.
- Go to SharePoint admin center.
- Go to the API management section.
- Under Pending requests you can see the Condense API permission request.
- To approve a pending permission request, select the request in the list of permissions, and on the toolbar, choose Approve or reject. In the Approve or reject access pane, choose Approve.
- This permission is used to display posts from LiveTiles Reach with LiveTiles Reach Posts web part.
Set-up
Once you have installed the app, set-up a Reach subscription and approved the api permission follow these steps to configure the LiveTiles Reach Posts web part.
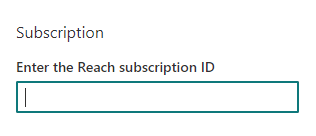
- Once the web part has been added to the page, and the current user doesn't have registered a Reach Subscription, this view will be displayed prompting you to edit the web part, otherwise, current user Reach Subscription ID is used by default. You can still overwrite it by writing the ID.

- Click the pencil icon to configure the web part.
Configure LiveTiles Reach Posts Web Part
Follow these steps to configure the web part
Enter your Reach subscription Id.
Tools
The Web Part also includes a set of tools for personalization. All tools are enabled by default.
Enable groups
If enabled, it will show the groups dropdown in the left of Web Part toolbar.

Enable search in toolbar
If enable, it will show a search option in the right of Web Part toolbar.

Enable filter panel
If enable, it will show a filter option in the right of Web Part toolbar. When clicked, filter panel opens.

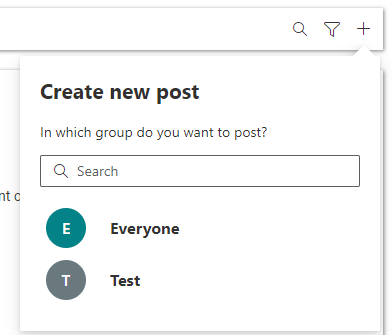
Enable add new post button
If enabled, it will show an add new post button option. Same as groups dropdown, lets the user select a Group for the new Post window to appear. When a group already is selected, new post button is not appearing as the option to create a new post is already available.
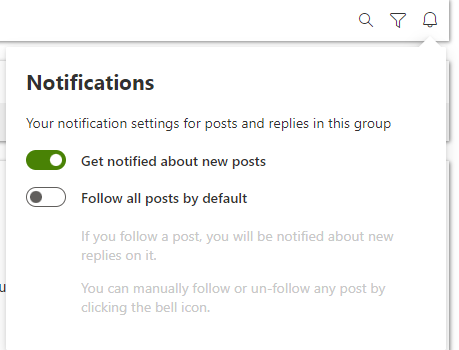
Enable group notification button
If enabled, when a group is selected, lets users to activate notification for the selected group.
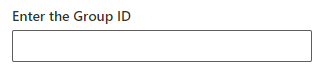
Enter the Group ID
Lets the user select a default Group for the Web Part. Enter the Group ID in the text box for the group to be selected as default.
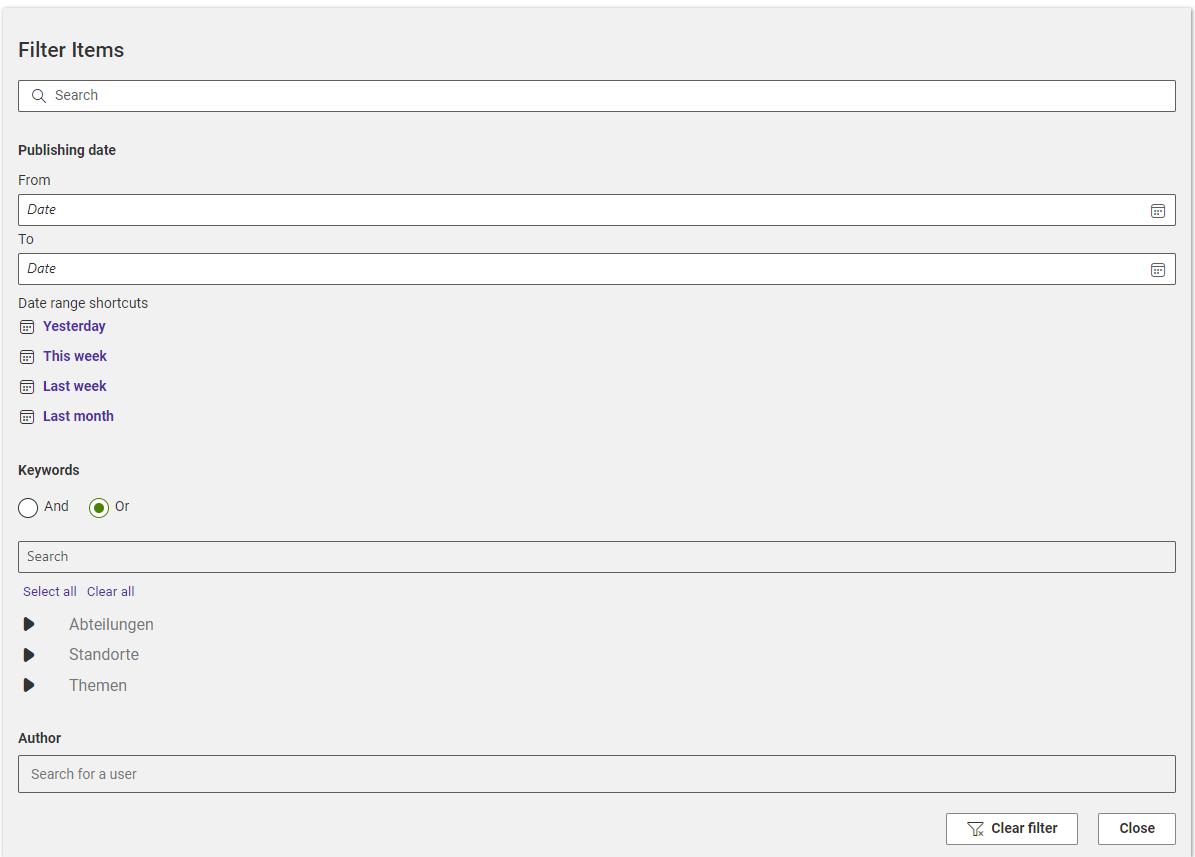
Filter Panel In Toolbar
Once enabled from Web Part options, you can click the filter icon to open the filtering option's in the toolbar.
In the toolbar you will now see the option's available for filtering.
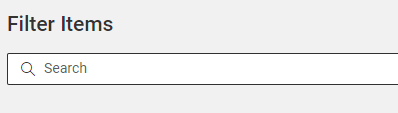
Search Post
In the search filter panel you can filter the displayed post items by search in title and description.
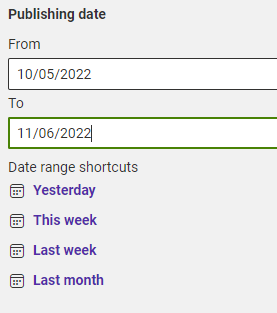
Publishing Date Filter
In the publishing date filter panel you can filter the displayed post items by a selected date range.
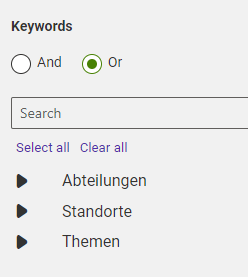
Keywords Filter
In the keywords filter panel you can filter the displayed post items by keyword and you have the AND & OR Mode option.
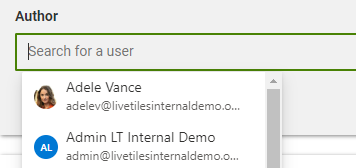
Author Filter
In the author filter panel you can filter the displayed post items by author.