Lists Web Part
Installation
Installation Steps
To install LiveTiles Lists, follow these steps:
- Install the app in either your SharePoint tenant app catalog or in a site collection app catalog.
- Go to the SharePoint site where the LiveTiles Lists web part should be installed.
- Add the app LiveTiles Lists to the site.
- Create a new page or go to an existing page where you would like to add the LiveTiles Lists web part.
- Click Edit to edit the page.
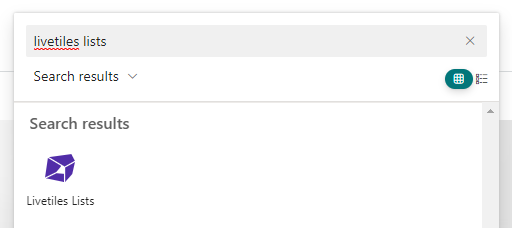
- Click the + and search for the LiveTiles Lists web part.
Properties
Data Source
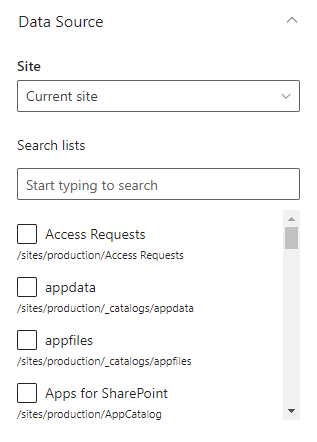
This Web Part has one data source
- Get data from lists(s) - The content is saved on SharePoint lists
Layout

You have the option to select from four distinct layouts. Additionally, you can set a maximum number of rows to display and choose a color for the card's background (though this feature is disabled by default). Moreover, you can customize the selected layout to specify the fields to be used.
Call to Action
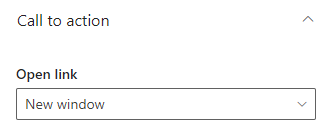
Choose which field to use as a link from the available fields in the selected list. Furthermore, you have the flexibility to choose the manner in which the link will open, whether in a new window, the same window, or as a modal window.
Format

Search FIlter Sort
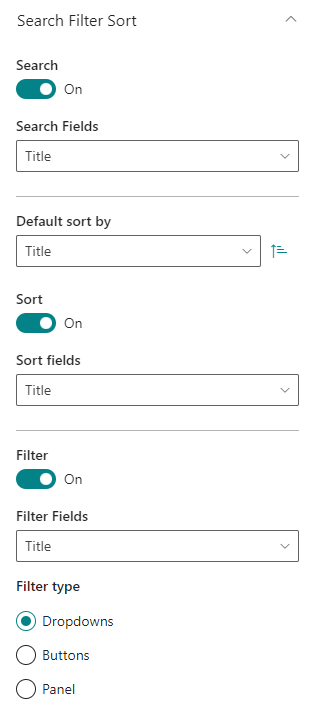
- Search - Enable/Disable search field
- Search Fields - Select data to be searched (eg. deparment, first name and/or last name)
- Sort - Enable/Disable sorting
- Sort Field - Fields in which a user can sort by
- FIlter - ENable/Disable filter
- FIlter Fields - Select data to be filter
- FIlter Type - Select between dropdown, buttons or panel for the style of the filter options
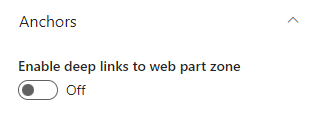
Anchors
Audience Targeting

Select the users or group to which the webpart is visible.
Alerts

Decide how you would like the web part messages to be displayed. Three options are available:
- Only in edit mode - Alert messages will be visible only if the page is in edit mode.
- Always - Alert messages will always be visible to any user.
- Never - Alerts messages will never be visible.
