Everywhere Panel Manager
Overview
LiveTiles Intranet Hub now provides the ability for administrators to add more than one configuration for the Everywhere Panel. By doing this, the administrators will be able to configure different Everywhere Panels for multiple URLs, that are targeted by using a Regex pattern.
Important Note
The Everywhere Panel Manager feature is not supported on the SP2019 version of the Everywhere Panel.
Everywhere Panel Manager
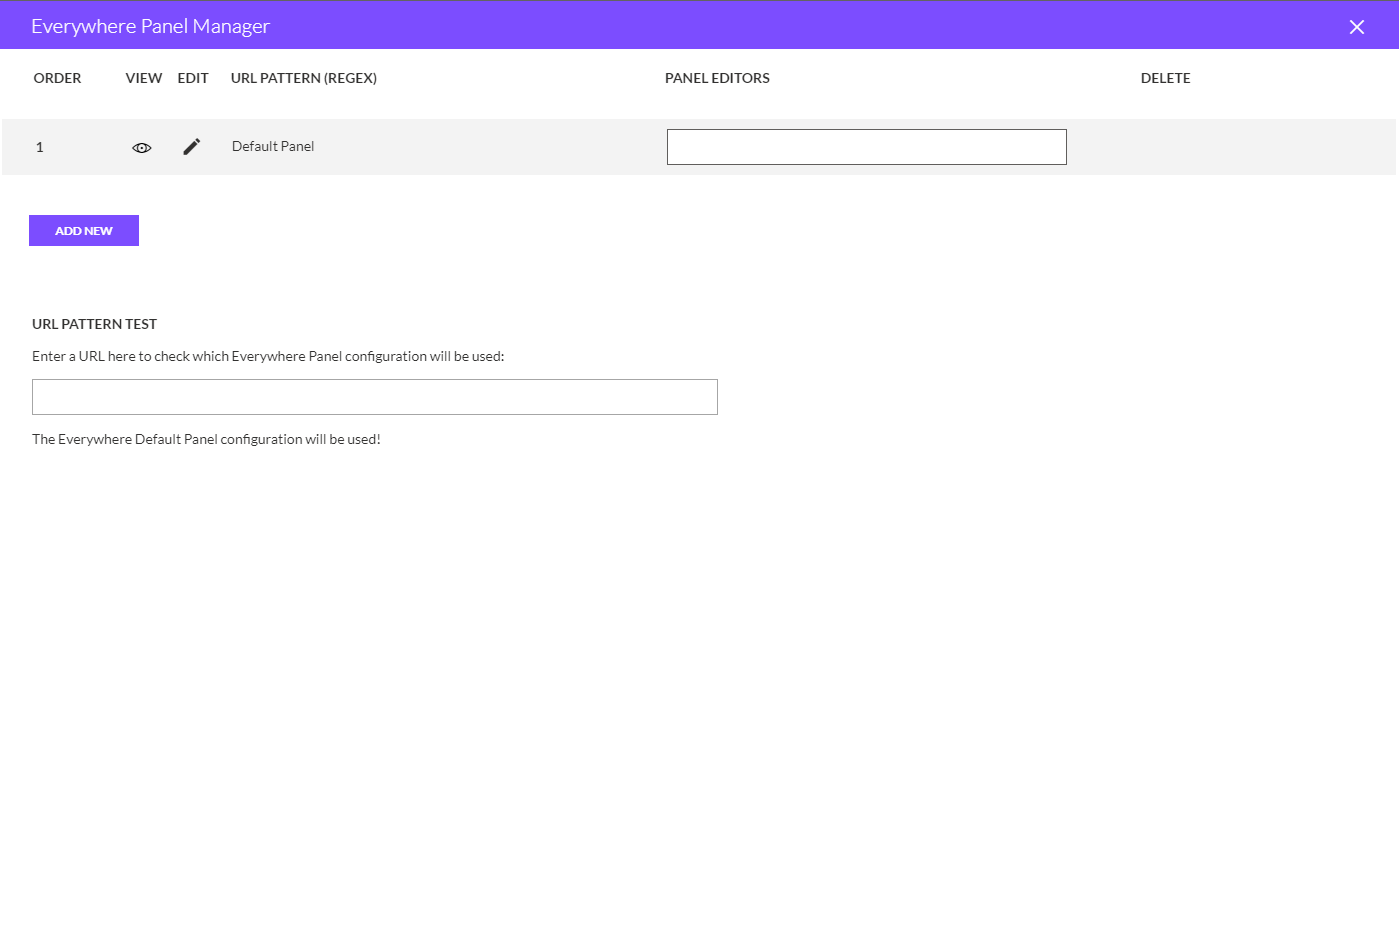
The Everywhere Panel Manager is where administrators configure, add, delete, edit, target and preview multiple Everywhere Panel configurations.
In order to enable this feature, the Administrator has to add this inside the features node, that lies inside the Hub JSON Config:

In case your Hub JSON configuration has an everywherePanel node already, then by enabling this feature, the "everywherePanel" node inside your configuration file will be transformed into a "panels" node, which represents an array of "everywherePanel" configurations. The "everywherePanel" node will be transformed into the default panel configuration of the Everywhere Panel Manager. In case you do not want to have the Everywhere Panel Manager feature anymore, it can be disabled by doing this:

By disabling this feature, the default panel in the Everywhere Panel Manager will be transformed into the "everywherePanel" node. This allows the configuration to still have an Everywhere Panel configuration, even though the Everywhere Panel Manager feature is disabled.
This can be accessed by first clicking on the cogwheel button that is placed on the Everywhere Panel.

For an environment that does not have an "everywherePanel" node already defined in the Hub JSON Config, the Everywhere Panel Manager will look like this:
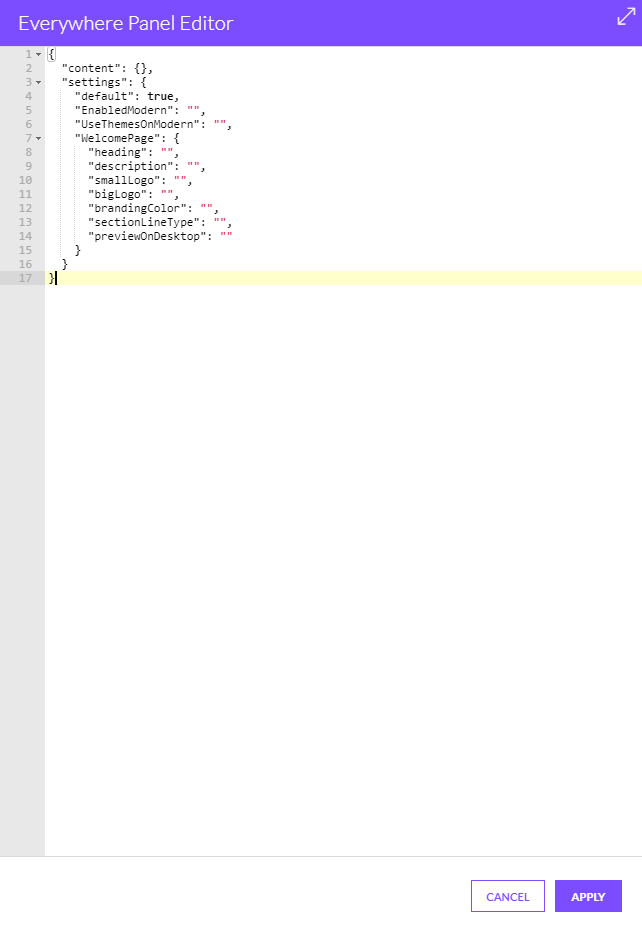
The administrators will be prompted with a default configuration as shown here:
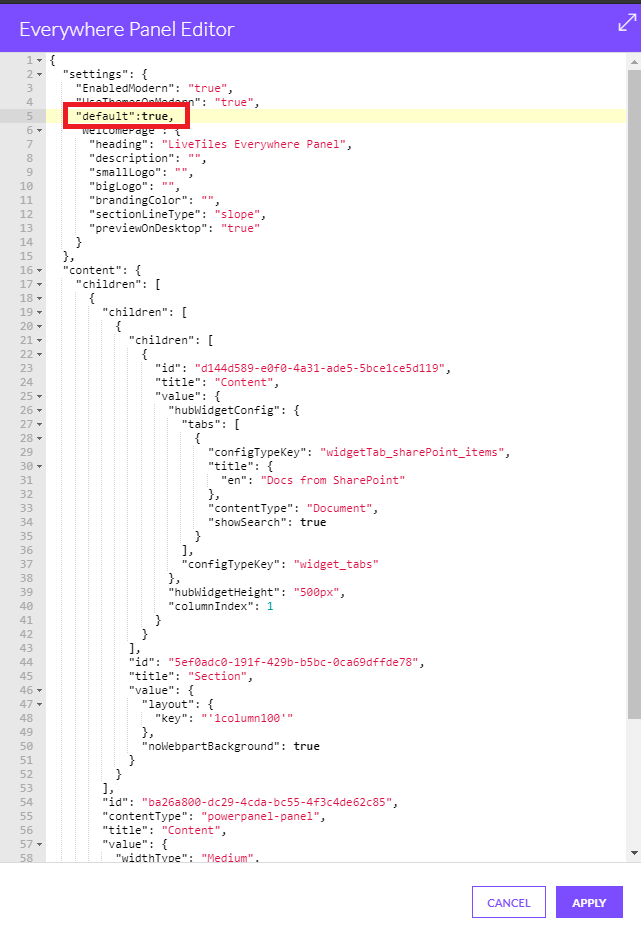
For an environment that does have an "everywherePanel" node already defined in the Hub JSON Config, the node will then be converted into the default configuration in the Everywhere Panel Manager.
IMPORTANT The default Everywhere Panel configuration will always have a "default" node set to "true" inside the "settings" node.
Configuration
Starting from the Everywhere Panel 1.3 version, the Hub Config JSON will contain the "panels" node inside the root node of the configuration file:
"panels": [
    {
      "settings": {
        "EnabledModern": "true",
        "UseThemesOnModern": "true",
        "default":true,
        "WelcomePage": {
          "heading": "LiveTiles Everywhere Panel",
          "description": "",
          "smallLogo": "",
          "bigLogo": "",
          "brandingColor": "",
          "sectionLineType": "slope",
          "previewOnDesktop": "true"
        }
      },
      "content": {
        "children": [
          {
            "children": [
              {
                "children": [
                  {
                    "id": "d144d589-e0f0-4a31-ade5-5bce1ce5d119",
                    "title": "Content",
                    "value": {
                      "hubWidgetConfig": {
                        "tabs": [
                          {
                            "configTypeKey": "widgetTab_sharePoint_items",
                            "title": {
                              "en": "Docs from SharePoint"
                            },
                            "contentType": "Document",
                            "showSearch": true
                          }
                        ],
                        "configTypeKey": "widget_tabs"
                      },
                      "hubWidgetHeight": "500px",
                      "columnIndex": 1
                    }
                  }
                ],
                "id": "5ef0adc0-191f-429b-b5bc-0ca69dffde78",
                "title": "Section",
                "value": {
                  "layout": {
                    "key": "'1column100'"
                  },
                  "noWebpartBackground": true
                }
              }
            ],
            "id": "ba26a800-dc29-4cda-bc55-4f3c4de62c85",
            "contentType": "powerpanel-panel",
            "title": "Content",
            "value": {
              "widthType": "Medium",
              "icon": {
                "icon": "ms-Icon ms-Icon--12PointStar",
                "color": "",
                "backgroundColor": ""
              },
              "label": "Content"
            }
          }
        ]
      }
    }
  ]
Adding a new Everywhere Panel configuration
If an administrator wants to add a new Everywhere Panel configuration, they will click on the ADD NEW button and a new slot will be added above the existing slots. The URL targetting field and the new configuration for the Everywhere Panel will be empty.
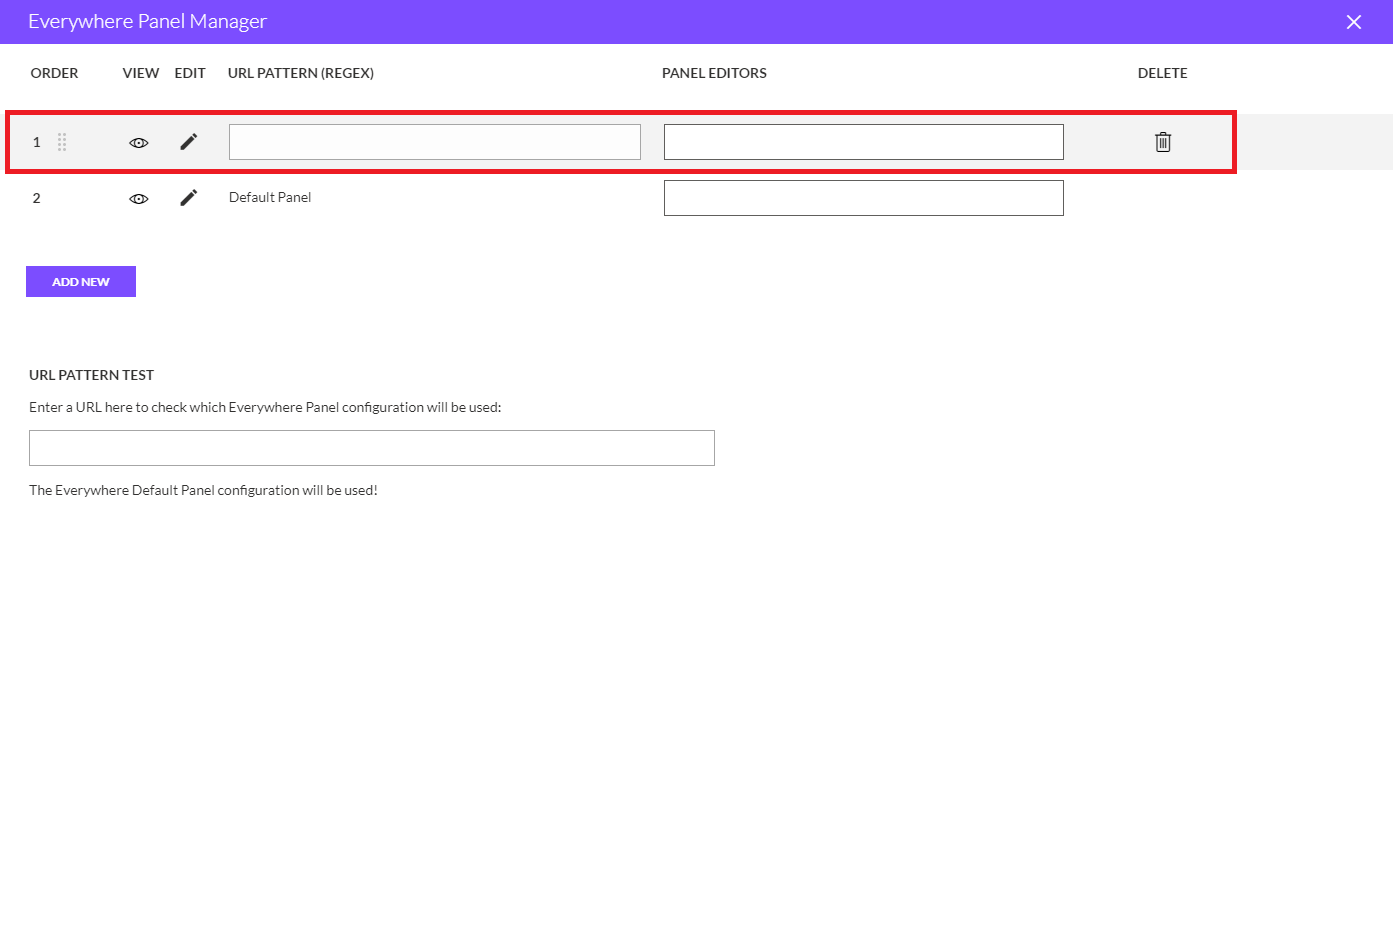
Adding a configuration for the newly added Everywhere Panel
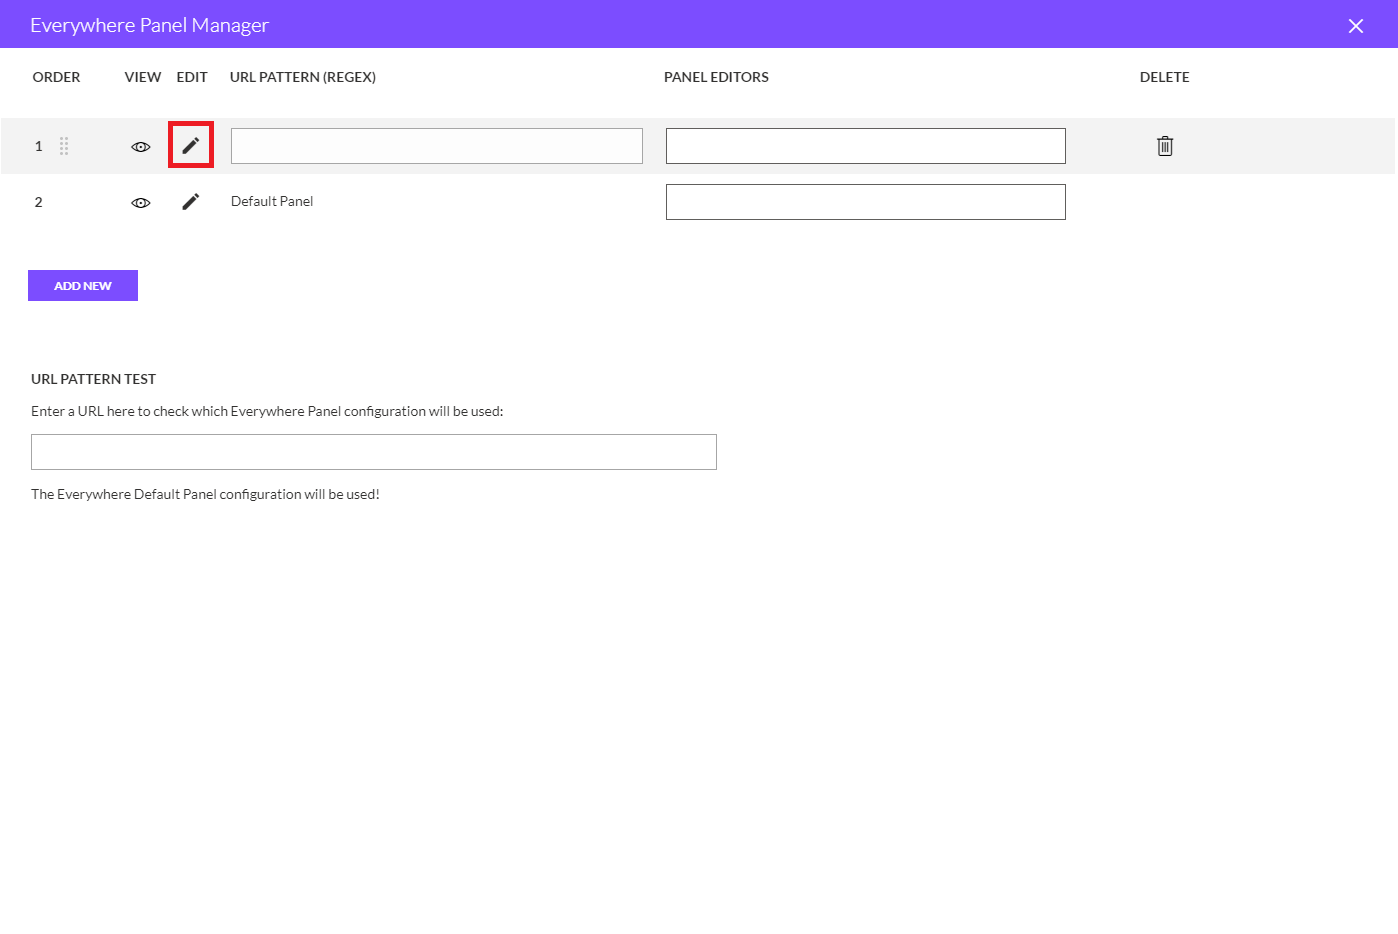
After the administrator adds the new Everywhere Panel, they can add their own configuration by click on the PENCIL ICON. By doing so, the Everywhere Panel Config Editor for the respective slot will open.
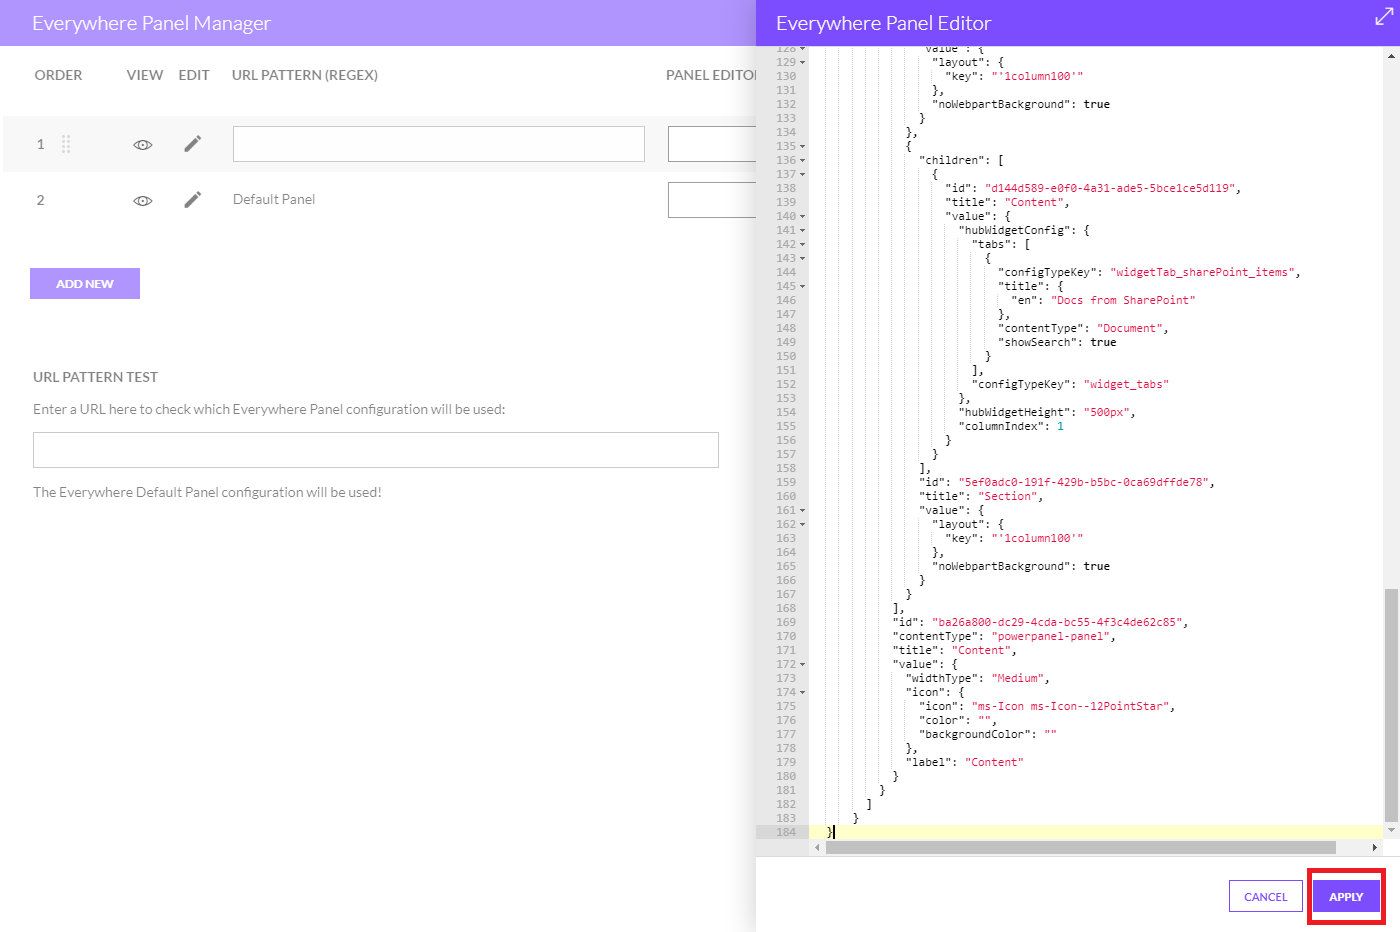
The administrators can now add their own configuration inside the configuration editor. Once they are done, they can save the configuration for the respective panel by clicking on the APPLY button.
Deleting an Everywhere Panel configuration from the Everywhere Panel Manager
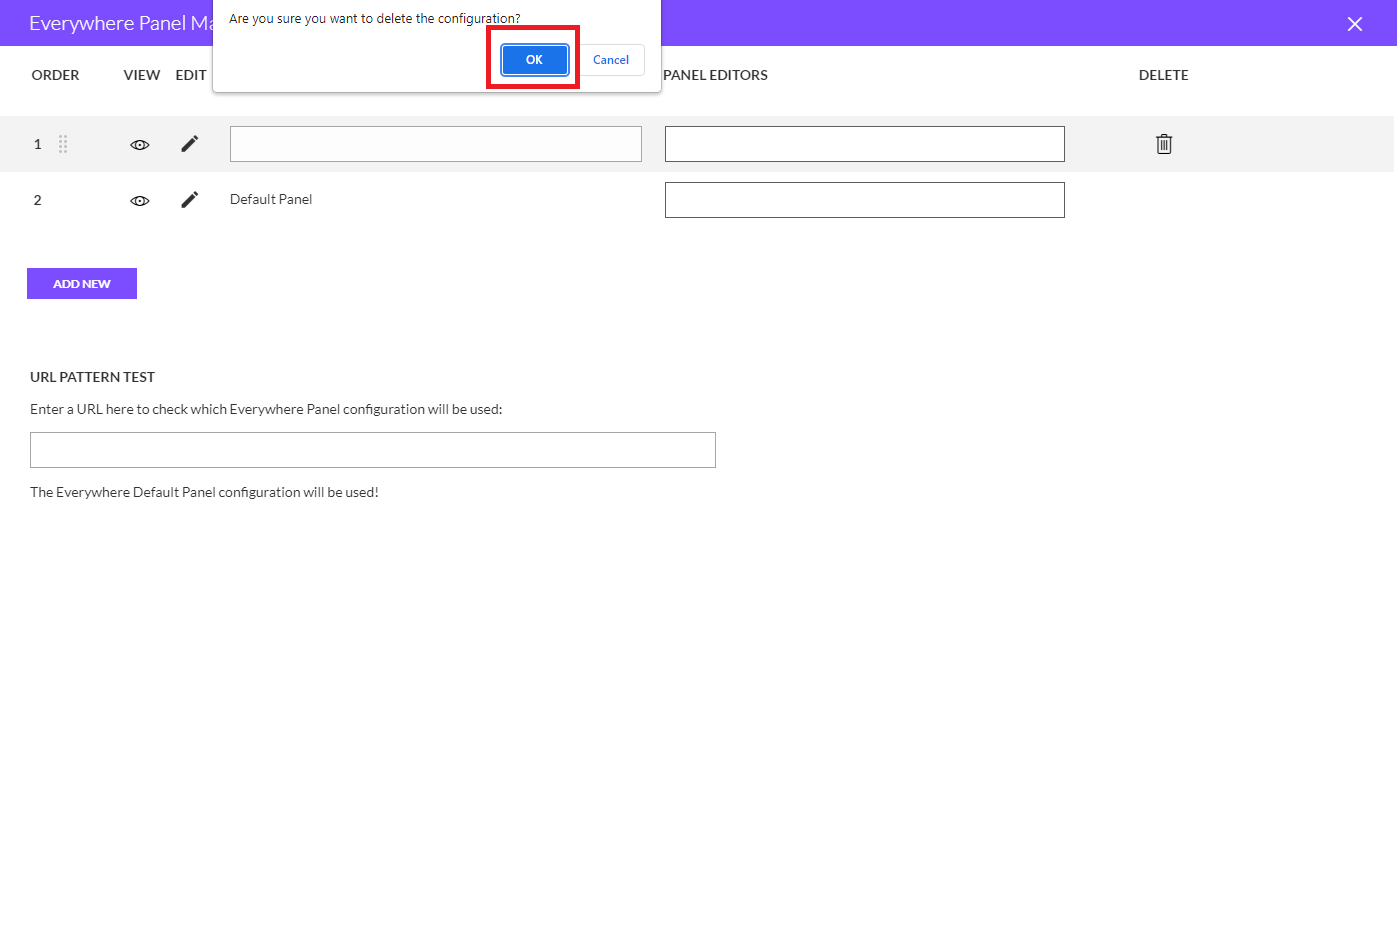
If an administrator wants to delete a specific configuration from the list of panels, then they would have to click on the TRASH CAN ICON.
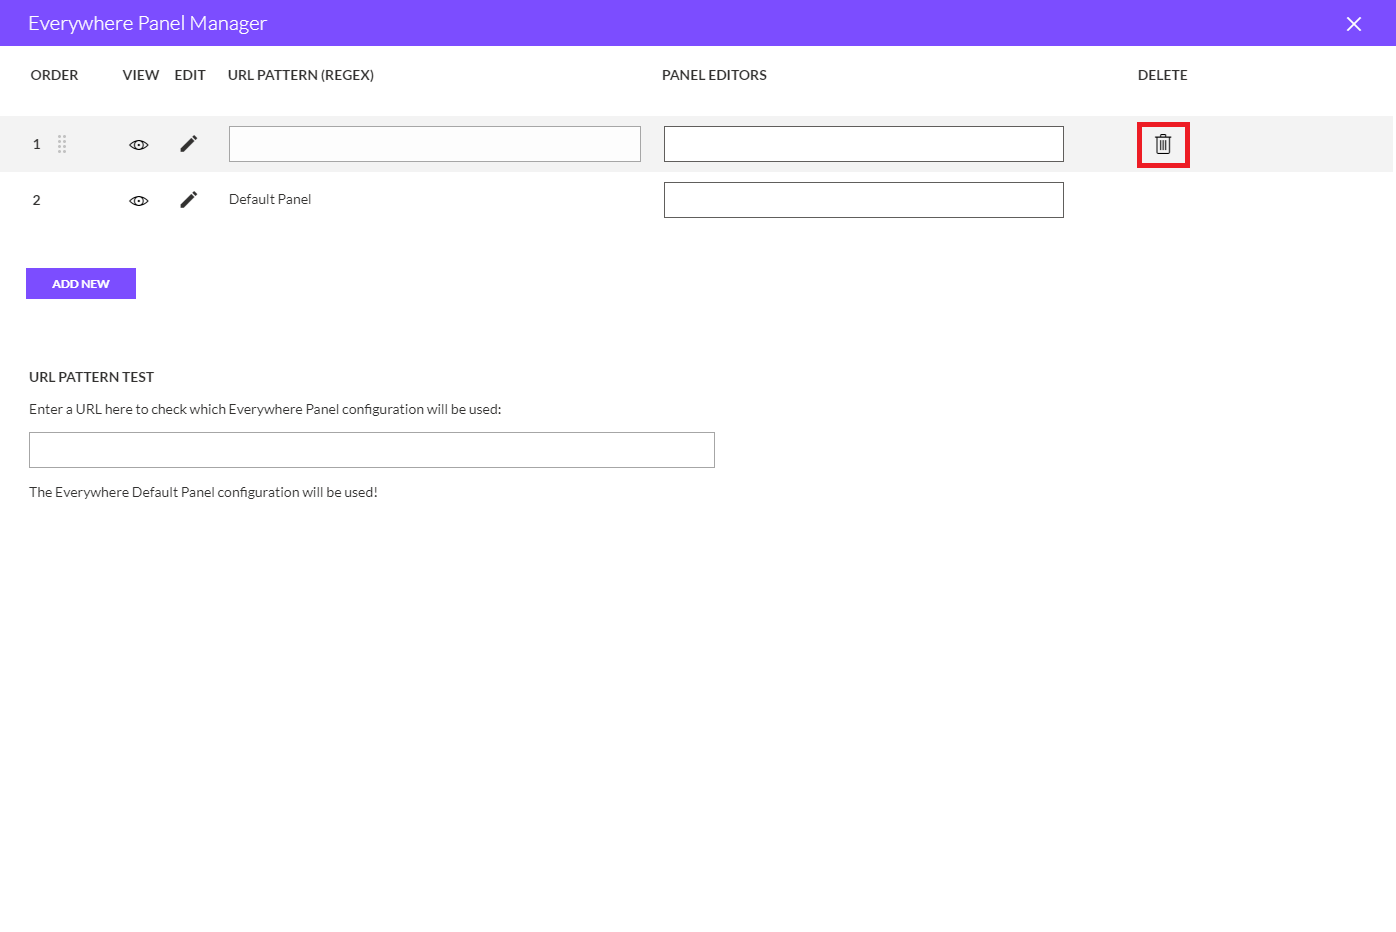
Clicking on the trash can will prompt the admin with a confirmation dialogue.
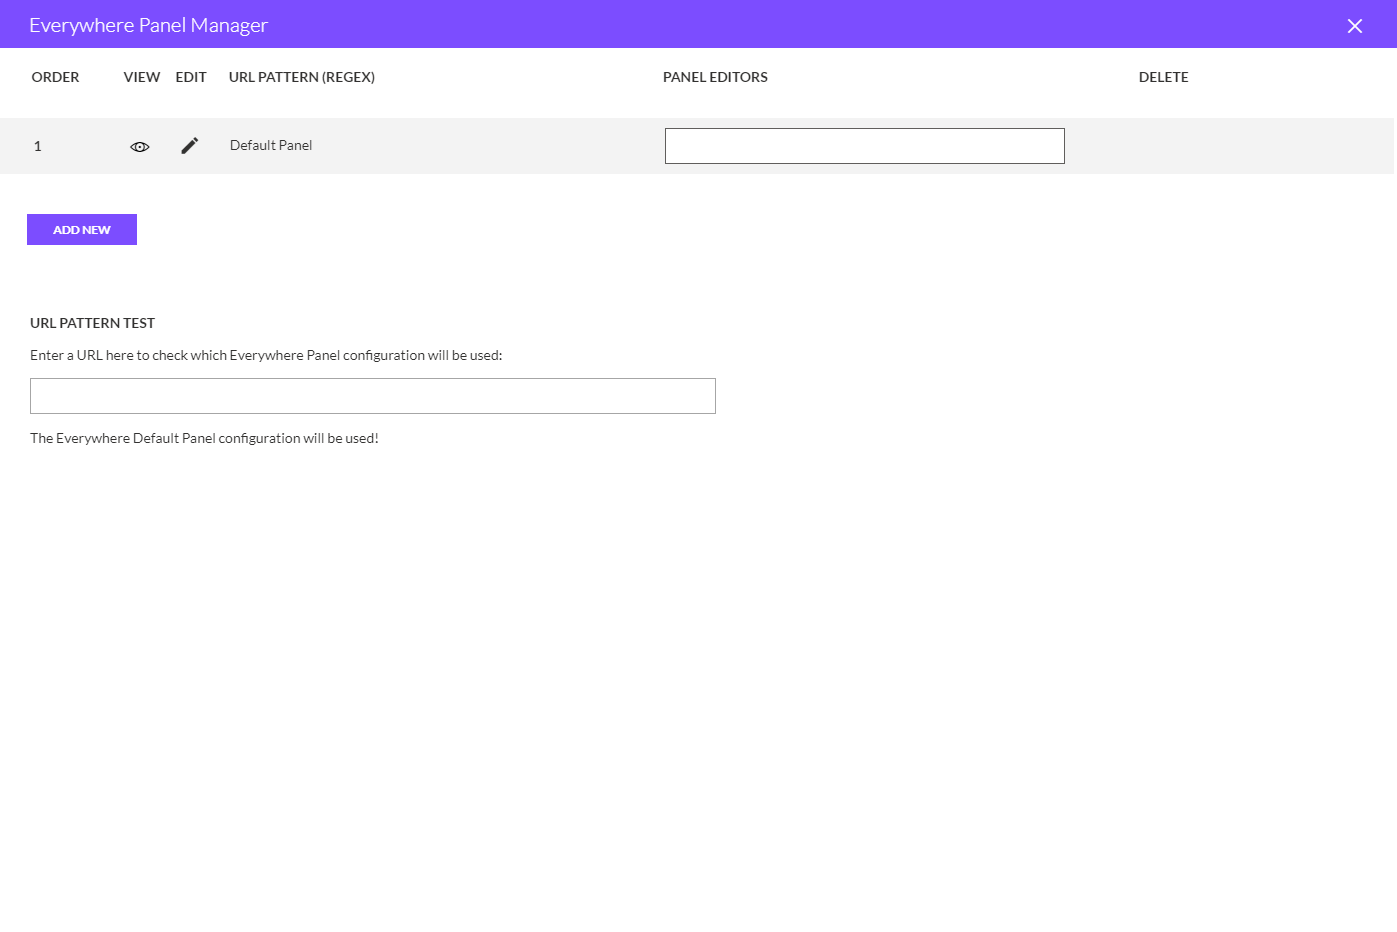
After deleting a panel configuration:
Previewing an Everywhere Panel configuration
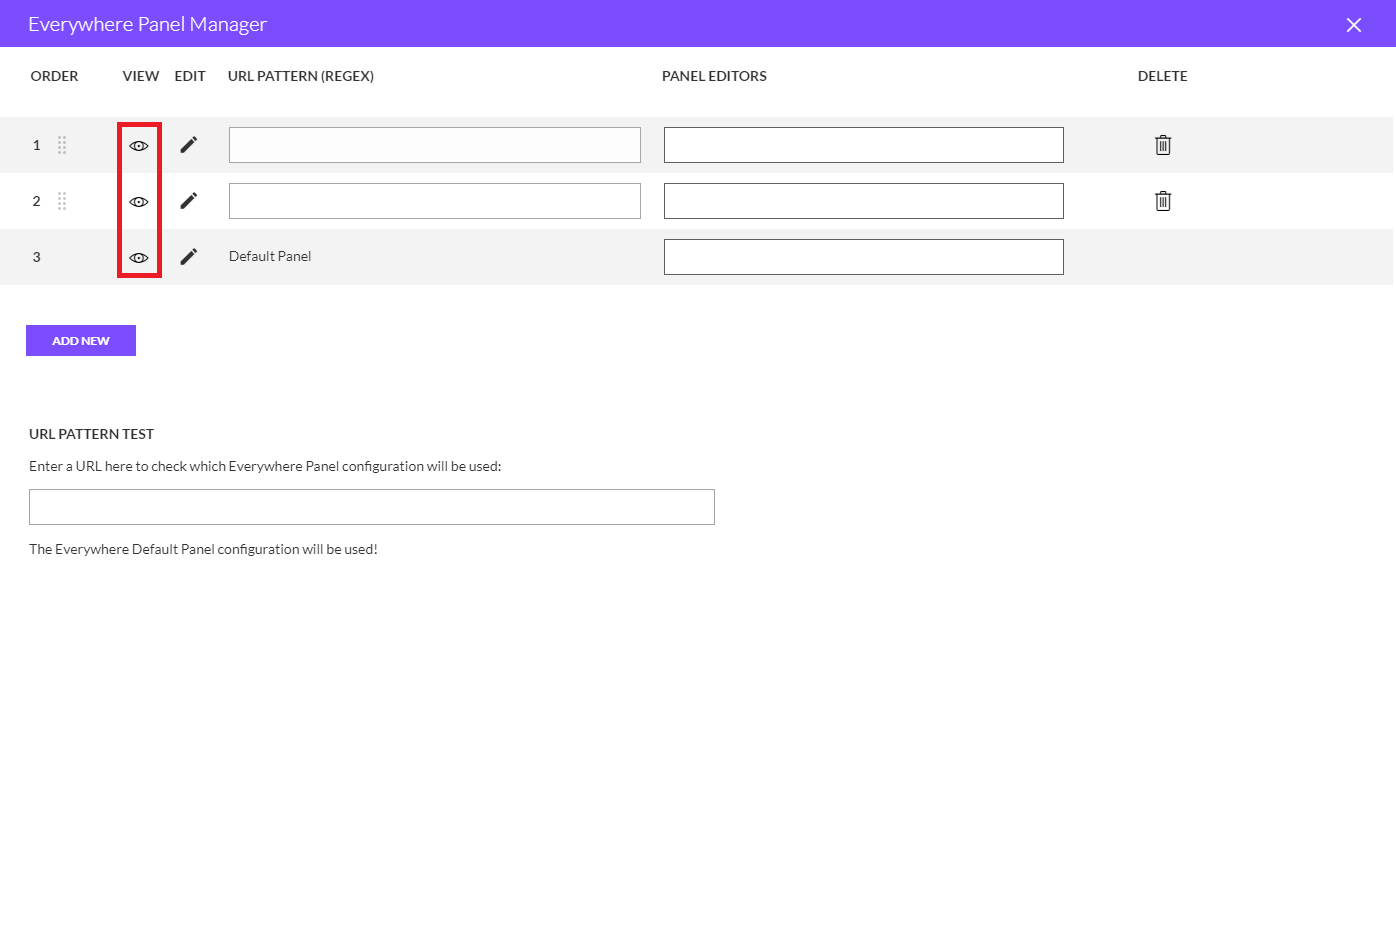
If an administrator wants to preview a configuration, they can do that by clicking on the EYE ICON. By doing so, the current Everywhere Panel, that is placed on the page, will be replaced by the configuration that the administrator wants to preview. This operation can only be done, if the node children from the node content is populated.
URL Targetting for the Everywhere Panels
If an administrator wants specific panels to be shown on specific pages or site collections that respect a certain pattern, then that can be done by typing a Regex Pattern inside this field:
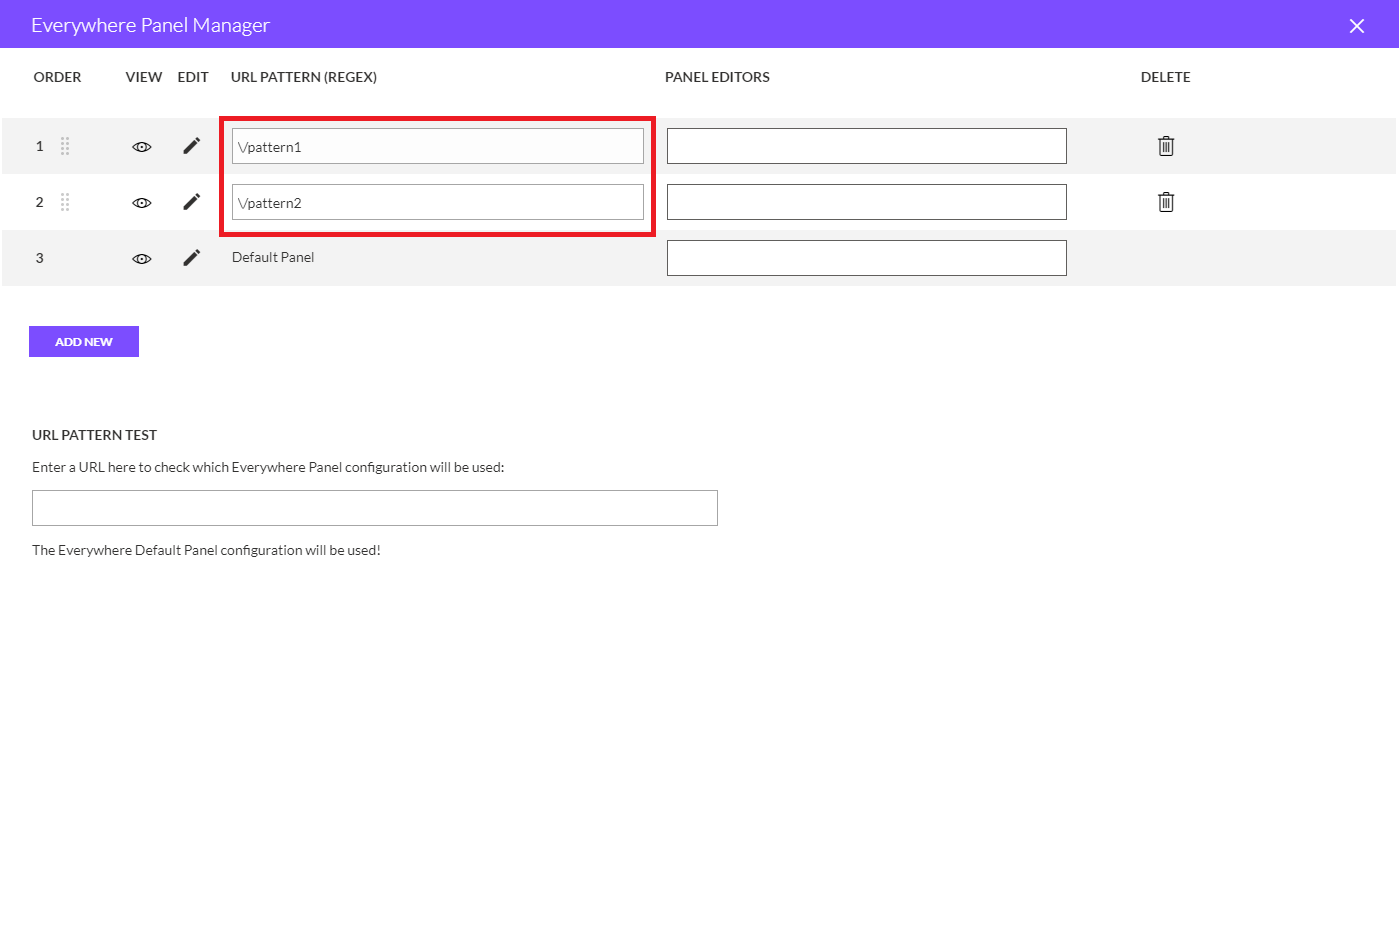
For every URL that matches the Regex patterns that are present in the fields, the respective Everywhere Panel will be placed on the page. In case a URL does not match any of the present Regex patterns, that are present in the fields, then the Default Everywhere Panel configuration, that the admin set, will be place on the page. Saving the Regex pattern is automatically done by leaving the field. Please make sure that you introduce a correct Regex pattern, otherwise the panel will not be shown.
User and Group Targetting for the Everywhere Panels
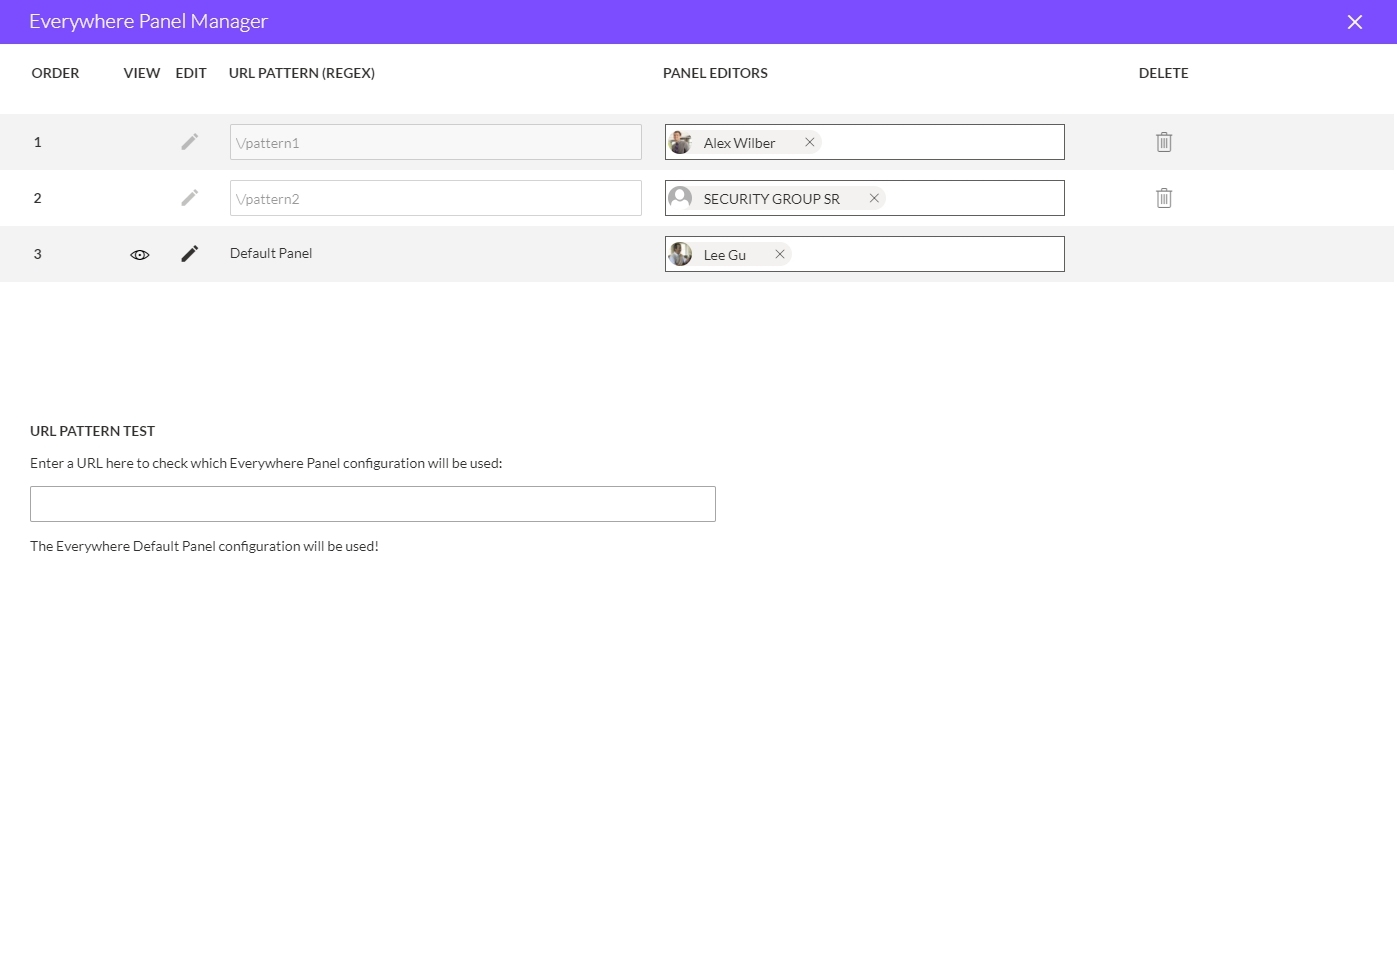
Hub Admins are now able to give editing permissions to users and security groups from the Azure Active Directory. This is done by assigning a group or a user to the specific Everywhere Panel configuration (Panel Editors column). By doing so, the targetted users or groups will be able to test URL patterns, edit and preview the configurations that they are assigned to. Everywhere Panel editors will not be able to add a new configuration, delete existing configurations, change the URL patterns or the existing editors or change the order of the configurations.

From a targetted user's perspective:
URL Pattern Testing
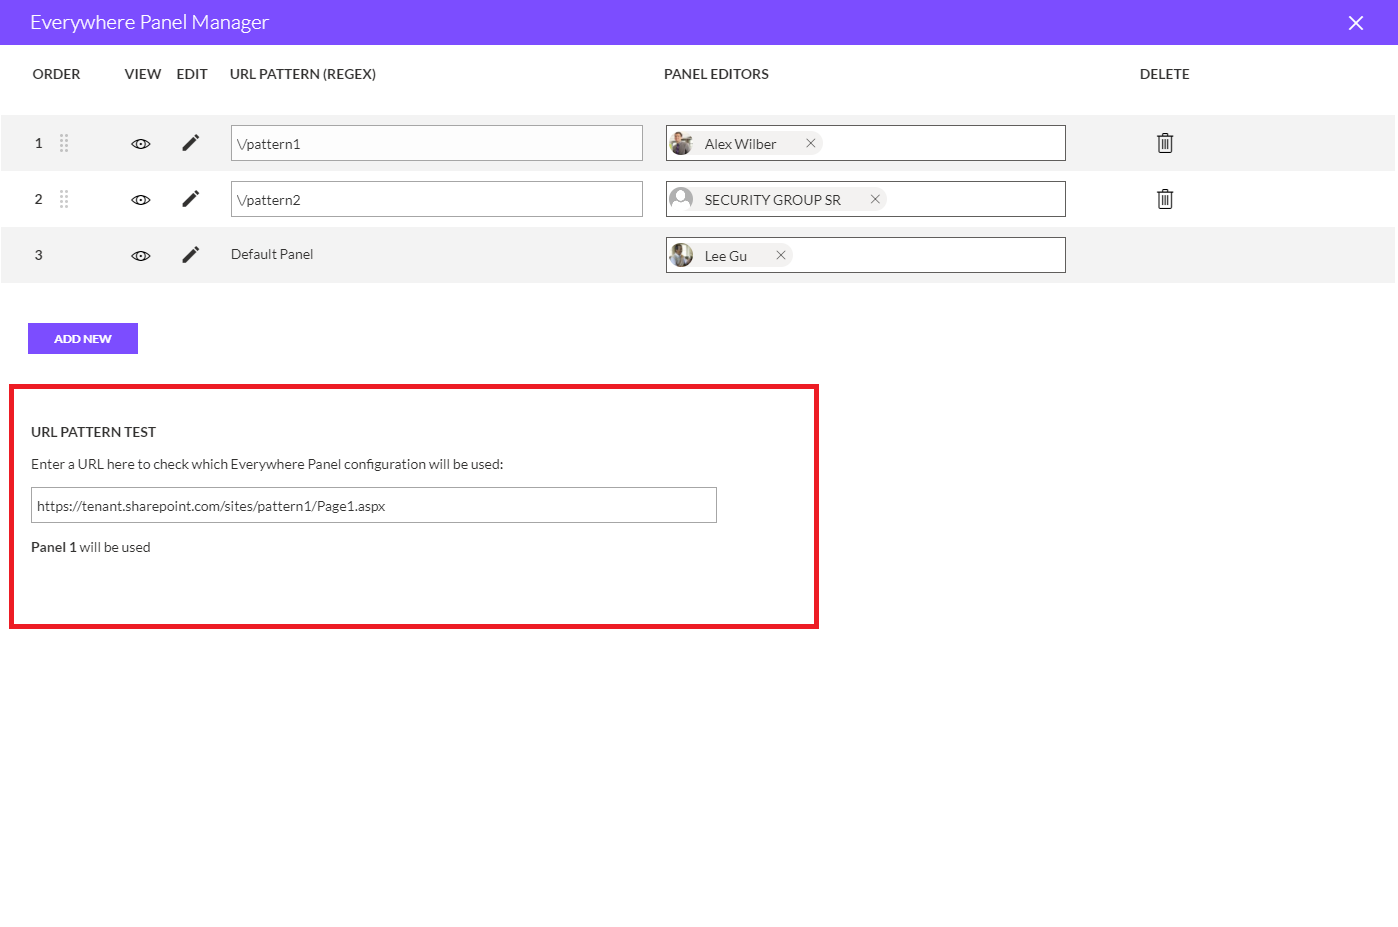
Hub Admins and targetted users can use the URL Pattern tester, in order to check which configuration will be used for a certain URL.
Changing the order of the configurations in the Everywhere Panel Manager
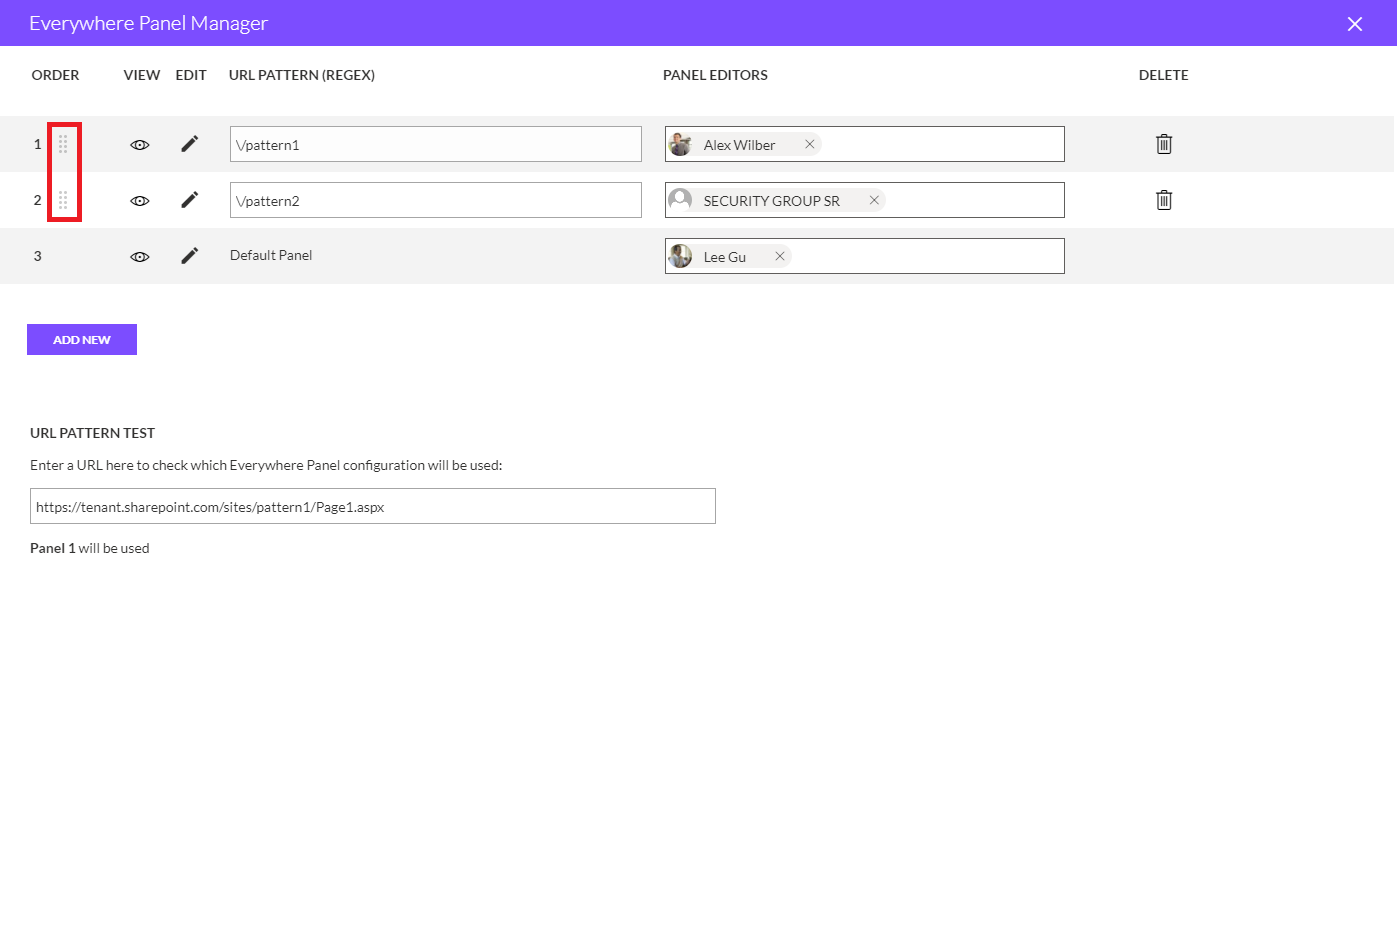
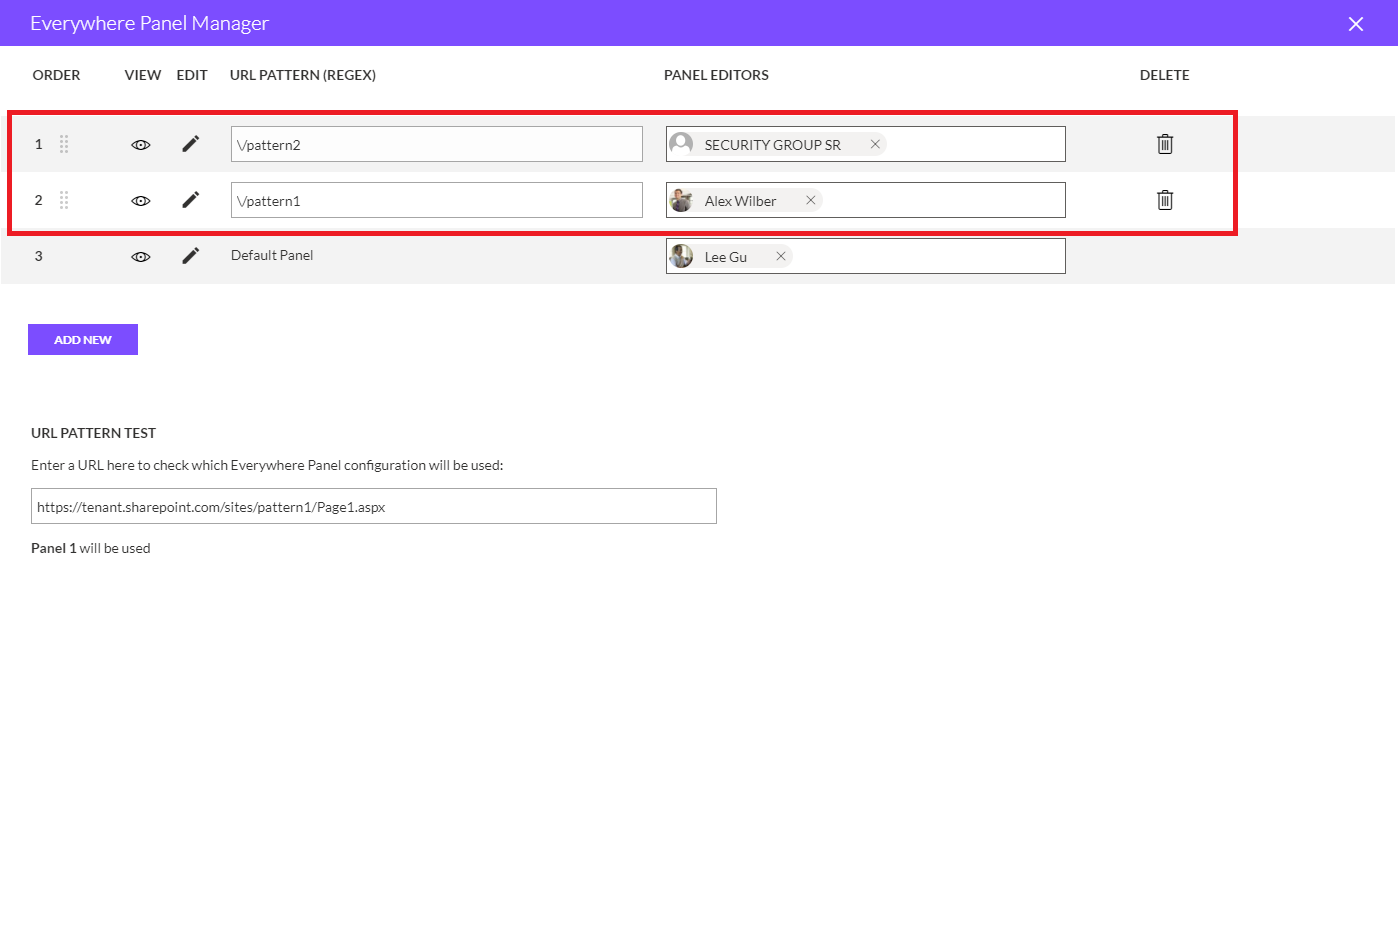
If a Hub Admin wants to change the order of the configurations in the Everywhere Panel Manager, this can be done by using the drag and drop functionality provided by the drag handler ( marked in the photo ). The default configuration cannot be dragged and dropped.
Before using the drag handler:
After dragging and dropping a configuration:
Amending the Everywhere Panel JSON using the GUI editor
Within the Everywhere Panel JSON editor, you now have the option of a GUI (graphical user interface) to help editing your JSON. This interface allows you to easily set some JSON properties specific to the Everywhere Panel through a form.
To access the GUI editor click the pencil icon to the top right of the Everywhere Panel JSON editor.

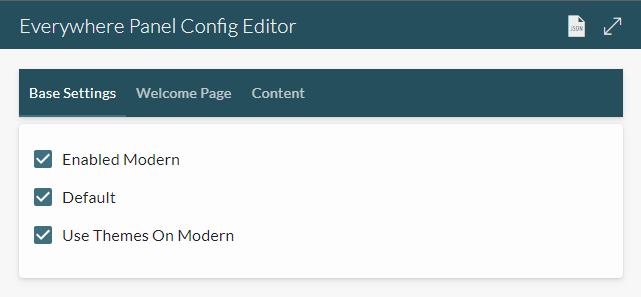
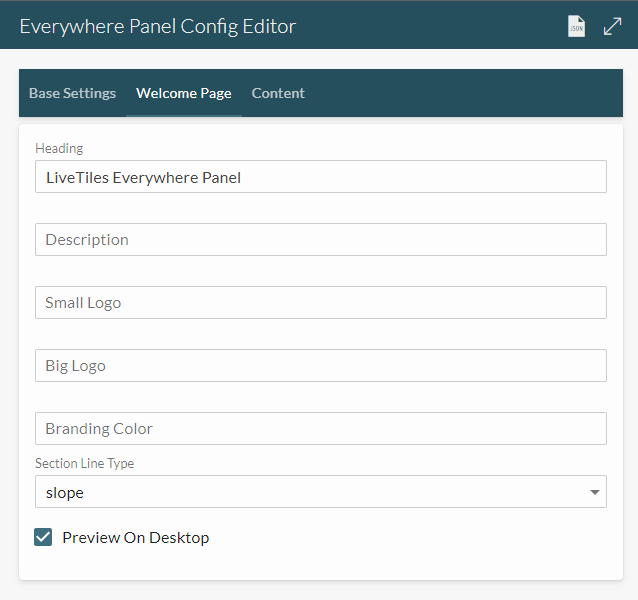
The Everywhere Panel GUI editor options are divided in to 3 tabs.
Base Settings - These are the base settings for the Everywhere Panel
Welcome Page - These are the settings for the Welcome Page panel. This panel is displayed behind the home icon.
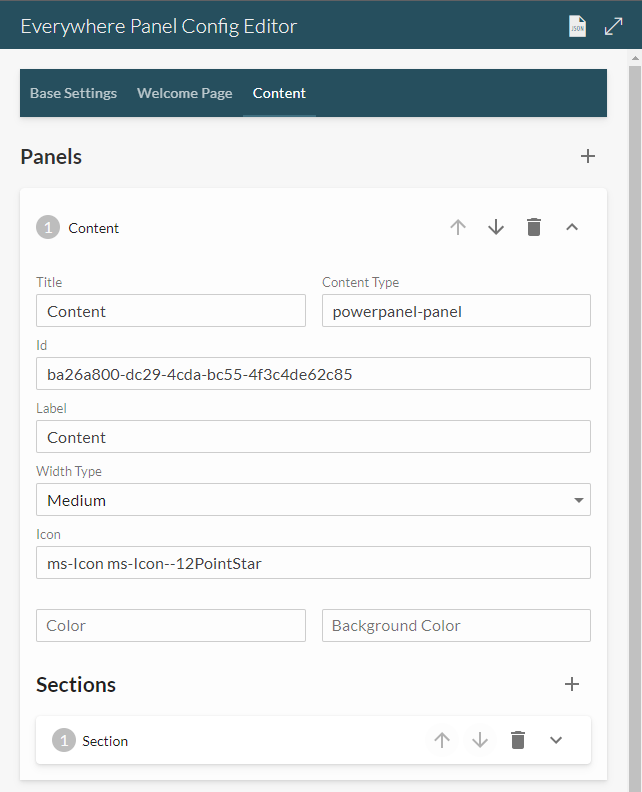
Content - This tab is where you set up each of your Everywhere Panel items. New items are added by clicking the plus icon to the top right of the tab panel. Amending the order of an item within this list amends the order in which the item is displayed within the Everywhere Panel presuming no sortorder key is set within the item JSON.
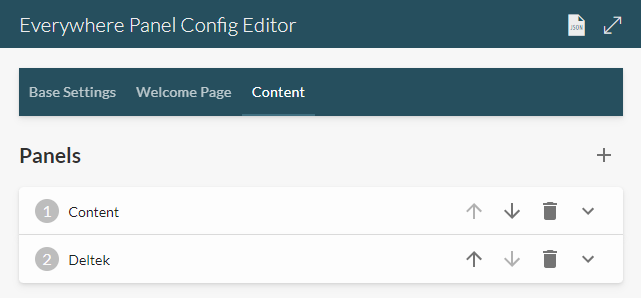
Click the item title to open the settings for that panel item. Each item includes base settings for that item along with an object to add multiple sections. Within each section, you have base settings along with an additional object allowing you to add multiple webparts to each sections. Base webpart settings are included however configuration settings for the webpart are to be added using the JSON editor as described here.
